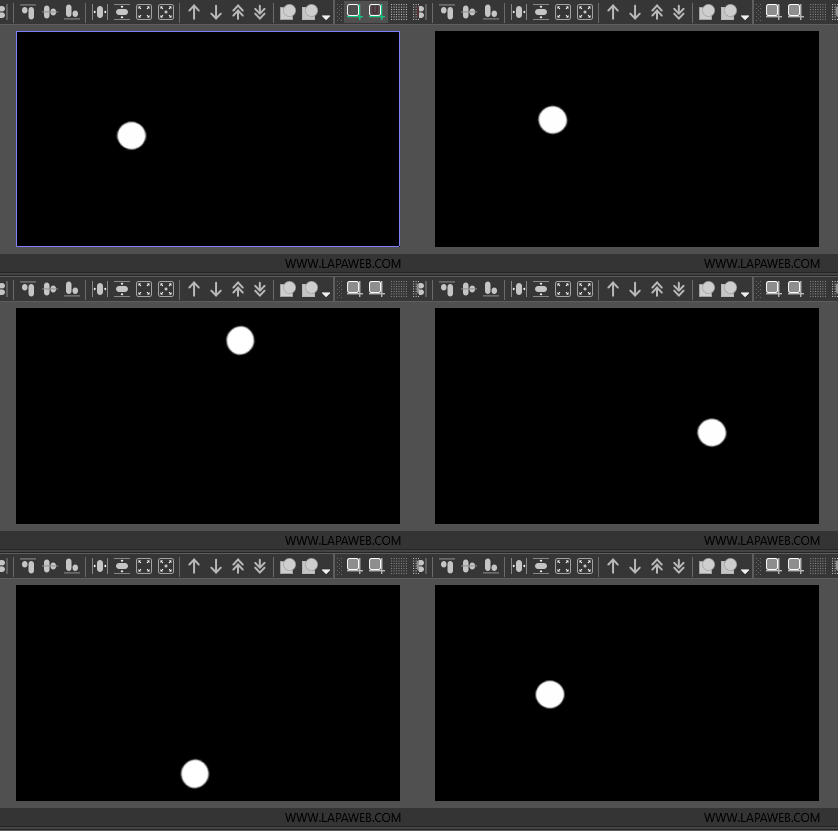
How to Rotate an Object Around a Point in VSDC
In this tutorial, you’ll learn how to animate an object in VSDC so that it rotates around a specific point. We’ll cover how to apply the rotation effect, set the starting and ending angles, and adjust the pivot point to create smooth, custom movements - even around points located outside the object itself.
- Create your object
Add any object to the scene - for example, an ellipse or any other shape.
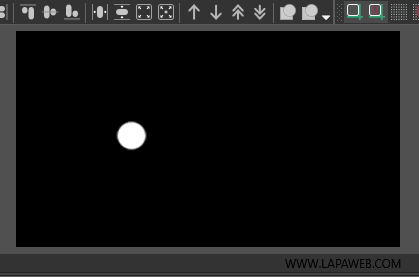
- Apply the rotation effect
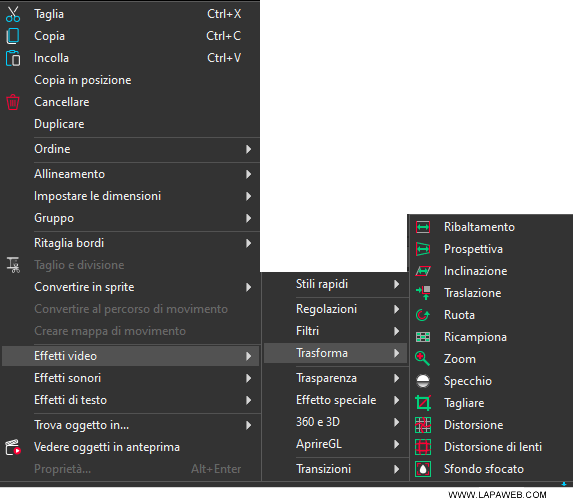
1. Right-click the object in the timeline.
2. Go to Video Effects > Transforms > Rotate.
- Set position and duration
In the dialog box that appears, choose when the effect should start and how long it should run. Click OK to confirm. - Define the rotation angles
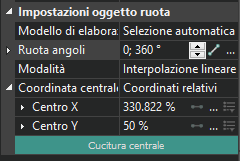
In the Properties panel, locate the "Rotate angles" field and enter the starting and ending values, separated by a semicolon. For example:0;90°for a 90-degree turn or0;360°for a full spin.
- Adjust the rotation center
By default, the rotation center is the geometric center of the object. To change it, select the object in the preview area and drag the pivot point to your desired location. You can rotate the object around an external point by moving the pivot outside its boundaries.
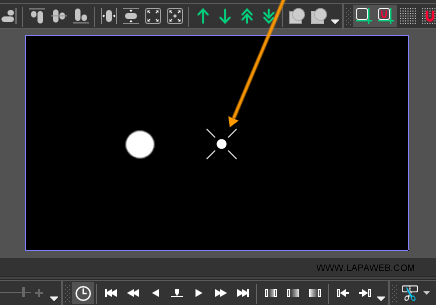
Alternatively, open the Properties panel, find the "Central coordinate" setting, and choose whether to work in relative coordinates (in %) or absolute coordinates (in pixels). Then adjust the Center X and Center Y fields as needed.
Once these settings are applied, your object will rotate smoothly around the chosen point for the specified duration, producing a clean, controlled animation.
